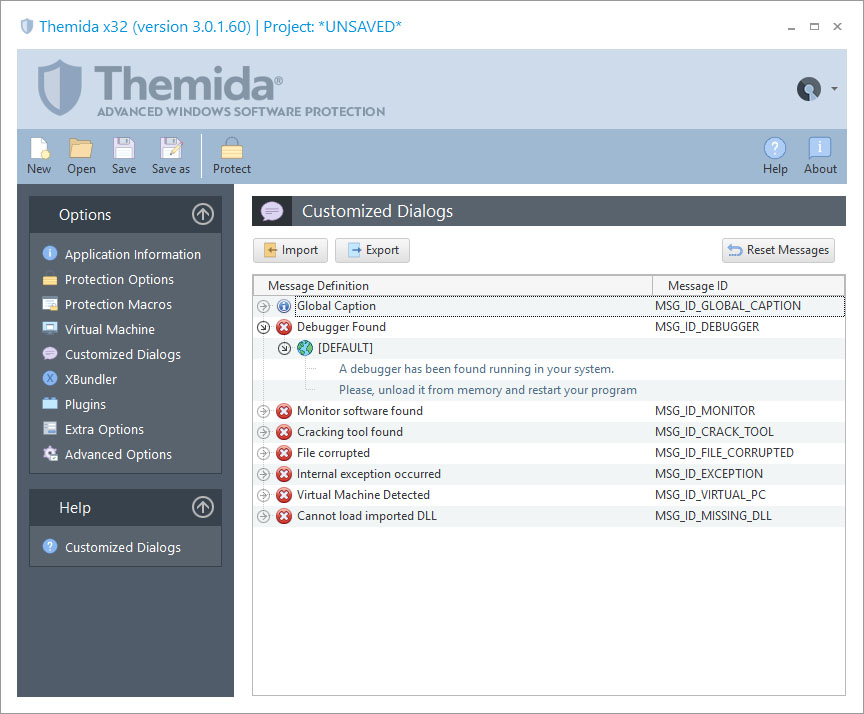
The Customized Dialog window allows changing the messages that may be shown by SecureEngine® when certain situations occur.
Languages
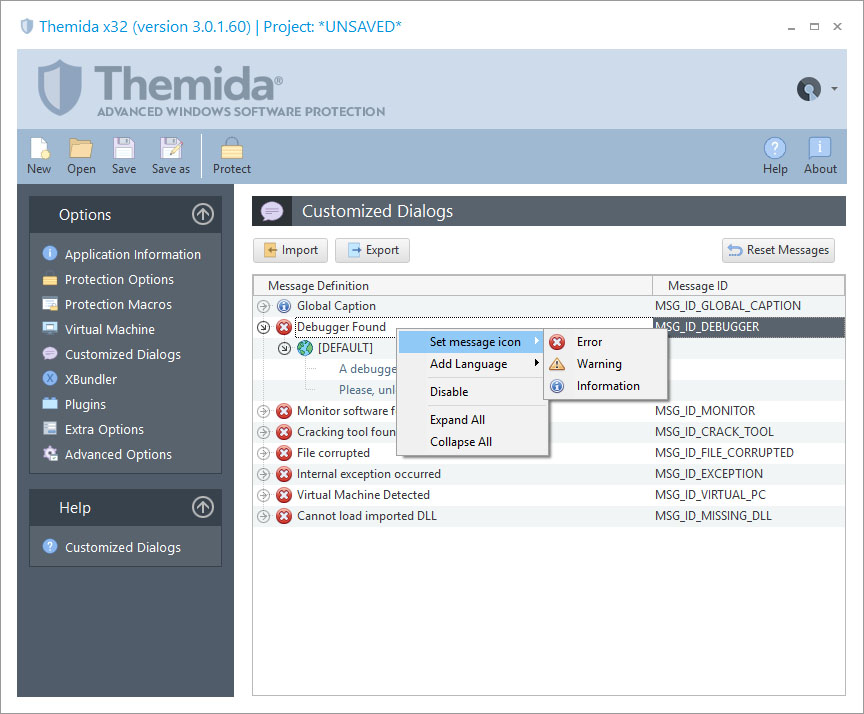
You can add several languages to each specific message, so the message will be displayed in the user's system language. In order to add a new language for a specific message, just right click on the desired message and select Add Language.
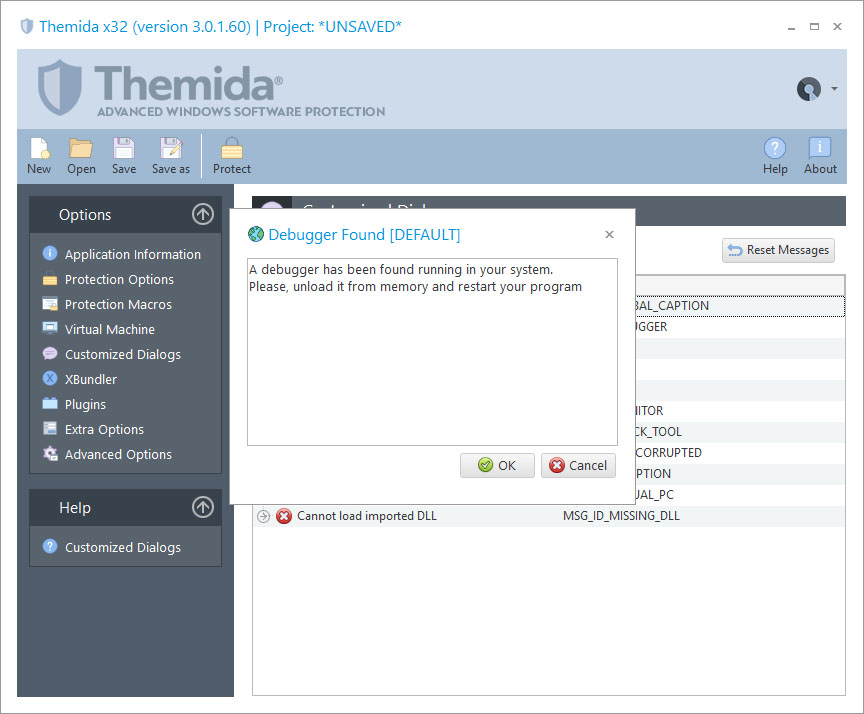
The [DEFAULT] language is the one that will be displayed in case that the current system language does not match with any of the defined languages for the current message to display. For example, you edit the MSG_ID_DEBUGGER message and define the [DEFAULT] and [GERMAN] message. If the application is running in a PC with Windows language set to German, the message will be displayed in German (as you defined for [GERMAN]). If another customer is running your protected application on a PC with Windows language set to Spanish, the message will be displayed as defined in [DEFAULT]
Changing a custom message
To change a custom message, double-click on a specific message to start editing.
Changing the custom message icon
Each message is displayed by default as a Windows MessageBox. You can change the MessageBox icon for each message by selecting the specific message and right-click on it, after that use the option Set Message Icon.
Changing the general caption for all messages
All messages are shown with a general caption that can also be customized. The general caption message is the MSG_ID_GLOBAL_CAPTION. This caption message can be customized in the same way as the rest of the messages, by double clicking it.
Importing and exporting your customized messages
Themida offers the possibility to export your customized messages to a single file so they can be imported in other project files without the need of retype all the messages again. To export all your messages to a file you just need to press the Export button and select the name of the file in which your messages will be saved. When you want to import your customized messages to the current project file, just press the Import button and select where the file with all your customized messages is located.